Attacking the attic hatch
A standard attic hatch is typically a covered rectangular hole cut into the ceiling. It’s best to replace drywall hatches because they are difficult to insulate and seal properly.
You can buy a ready-made hatch, or improve your existing drywall hatch by replacing it with ¾-inch plywood cut to fit. If you have loose-fill insulation in your attic, install a dam or barrier that extends 2 inches above the level of insulation to prevent it from spilling into the house when you open the hatch.
To insulate a hatch, use rigid foam insulation cut slightly smaller than the plywood attic hatch. Use screws and fender washers to secure the first layer of rigid foam to the hatch. Add layers of rigid foam by taping the edges together one at a time using foil tape (wear gloves) until you reach the R-value of your attic insulation.
Seal any gaps between the drywall and trim with caulk and foam sealant. Finish with adhesive weatherstripping around the hatch perimeter.
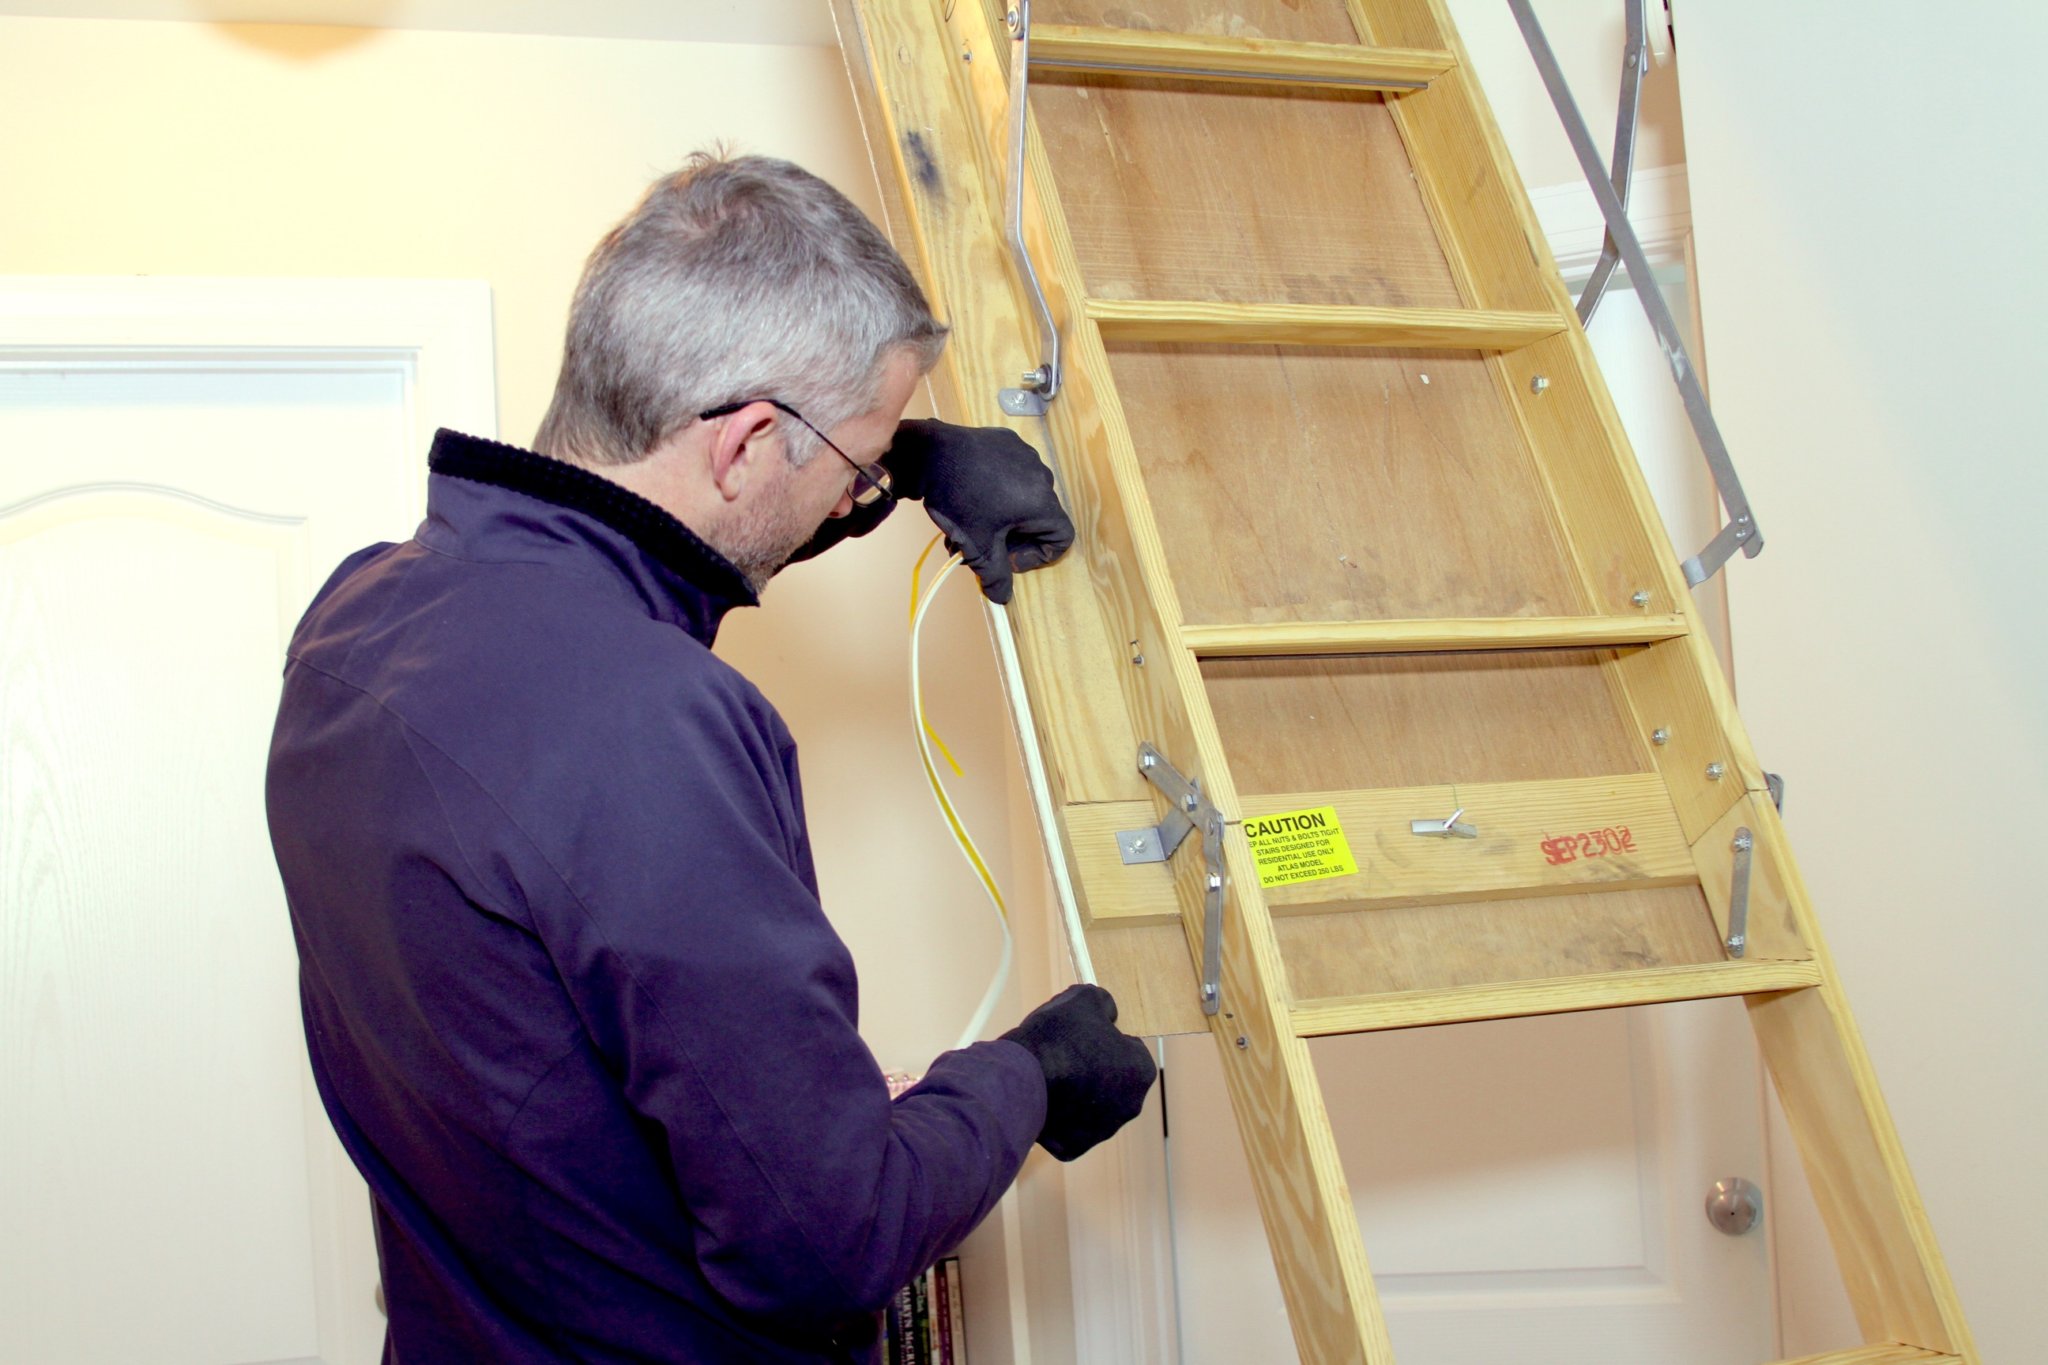
Ladder attic hatches
For attic hatches with dropdown ladders, the process is the same: Install a dam, air seal and insulate. Be sure to account for the space of the folding ladder.
To insulate, build a box to sit in the attic around the hatch, using wood for the sides tall enough to accommodate the folded ladder. The top of the box will be rigid foam you can remove to get into the attic. Cut the first piece of foam to fit inside the box and the next layer to fit on top of the box—keep layering until you reach the desired R-value.
Add weatherstripping to the hatch or the underside of the frame to form a tight seal when closed.
MIRANDA BOUTELLE writes on energy efficiency for the National Rural Electric Cooperative Association.